The Granny Square is a classic crochet pattern‚ perfect for beginners‚ offering versatility and creativity. Its simplicity and timeless appeal make it a favorite among crocheters worldwide.
1.1 History and Popularity of the Granny Square
The Granny Square has a rich history‚ dating back to the early 20th century‚ and gained immense popularity during the 1970s crochet boom.
Its simplicity and versatility made it accessible to both beginners and experienced crocheters.
It became a symbol of handmade craftsmanship and community‚ often passed down through generations.
Today‚ it remains a beloved design‚ celebrated for its timeless charm and adaptability in modern crochet projects.
1.2 Why the Granny Square is a Great Project for Beginners
The Granny Square is an excellent project for beginners due to its simplicity and repetitive stitch pattern‚ making it easy to learn and master basic crochet techniques.
Its forgiving nature allows for small mistakes without ruining the overall design‚ building confidence and skill as you progress.
It’s a rewarding project that provides a sense of accomplishment‚ perfect for those new to crochet.

Materials and Tools Needed
To create a Granny Square‚ you’ll need medium-weight yarn‚ a crochet hook (size J/6.0mm)‚ scissors‚ a tapestry needle‚ and stitch markers. These essentials ensure success.
2.1 Recommended Yarn and Hook Sizes
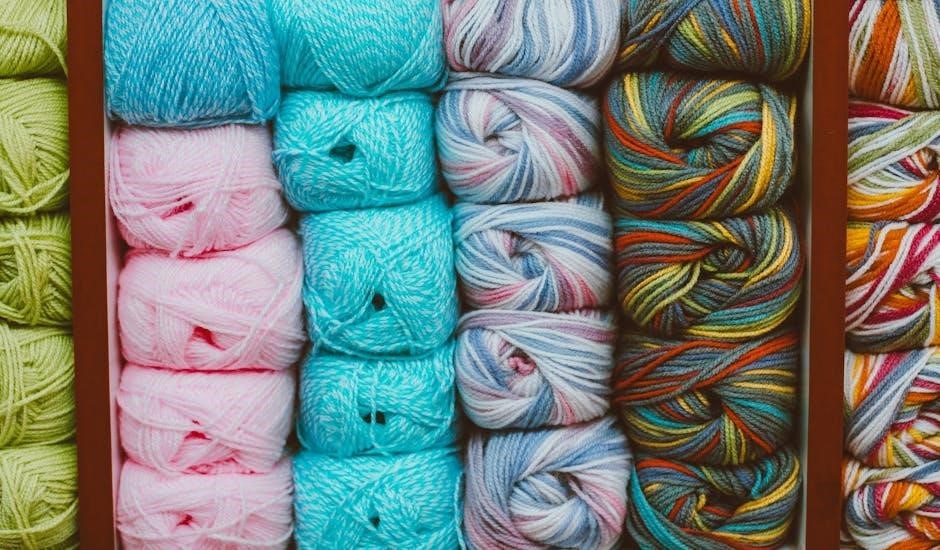
For a Granny Square‚ medium-weight yarn (worsted weight) and a size J/6.0mm crochet hook are ideal. Acrylic‚ cotton‚ or blends are popular for their softness and durability. Ensure the yarn has good stitch definition for a clear‚ traditional look. Proper hook size ensures even tension and a neat‚ professional finish. Choose colors that match your desired design for a cohesive appearance.
2.2 Essential Crochet Tools for Making a Granny Square
The primary tools needed are a crochet hook‚ yarn‚ scissors‚ and a tapestry needle. Stitch markers are helpful for tracking rounds‚ while a measuring tape ensures accuracy. A comfortable hook handle aids in long crochet sessions. Optional tools include a yarn needle for weaving ends and a stitch dictionary for reference‚ ensuring a smooth and enjoyable crafting experience.
Step-by-Step Guide to Crocheting a Granny Square
Start with a foundation chain and center ring‚ then work through rounds of double crochet clusters. Each round builds the square‚ finishing with a border for a polished look.
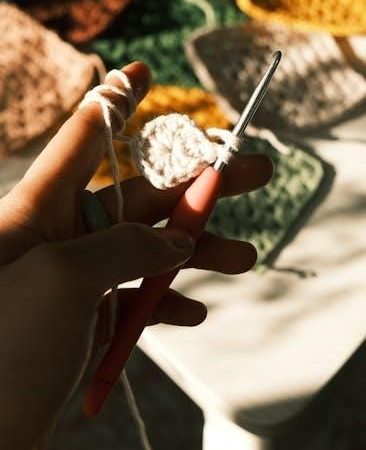
3.1 Starting the Granny Square: Foundation Chain and Center Ring
3.2 Completing the First Round of the Granny Square
Begin the first round by crocheting three double crochet stitches into the center ring. Work evenly around the ring‚ placing three stitches in each corner. Ensure each stitch is consistent in tension to maintain a flat‚ even shape. Complete the round by joining with a slip stitch to the top of the starting chain. Count your stitches to ensure accuracy.
3.3 Working Subsequent Rounds and Building the Square
Each round begins with a chain 3‚ followed by double crochet stitches. Work three stitches in each corner and one stitch along the sides between corners. Maintain even tension to keep the square flat. Join each round with a slip stitch to the starting chain. Count stitches to ensure accuracy and avoid mismatches‚ gradually building the square’s shape with each completed round.
3.4 Finishing Touches: Weaving in Ends and Blocking
After completing the square‚ weave in yarn ends using a tapestry needle for a clean finish. Block the square by wetting it‚ stretching it into shape‚ and pinning it to dry. This step ensures even stitches and a professional appearance. Patience is key‚ as blocking transforms the square‚ making it crisp and perfectly shaped for further projects or display.
Joining Granny Squares
Joining granny squares is essential for creating larger projects like blankets. Use one color to sew squares together‚ then add a border for a cohesive finish.
4.1 Overview of Joining Methods
Several methods exist for joining granny squares‚ each with unique benefits. The Join-As-You-Go (JAYG) technique allows seamless joining during crocheting‚ while sewing squares together offers flexibility. Choosing the right method depends on the desired look and ease of completion for your project‚ ensuring a polished and professional finish every time.
4.2 Join-As-You-Go (JAYG) Technique
The JAYG method simplifies joining granny squares by crocheting them together as you go. This technique eliminates the need for sewing‚ saving time and effort. By working on one square at a time and joining each new square to the previous one‚ you create a seamless and cohesive project with minimal finishing work required.
4.3 Sewing Granny Squares Together
Sewing granny squares together is a traditional method that involves using a yarn needle and scissors. Place two squares side by side‚ aligning edges. Thread yarn through corresponding stitches and sew securely. This method allows for precise control and neat finishing. Ensure to weave in ends for a polished look‚ using the same yarn for consistency and a professional appearance.
Tips for Crocheting a Perfect Granny Square
Use stitch markers to keep track of rounds‚ count stitches regularly‚ and maintain consistent tension. Block your square to achieve sharp‚ clean edges for a professional finish.
5.1 Maintaining Tension and Consistency
Maintaining even tension is crucial for a neat Granny Square. Too tight‚ and the fabric becomes stiff; too loose‚ and it may sag. Practice holding the yarn firmly but gently‚ ensuring each stitch is uniform. Consistency in stitch size and tension ensures the square lies flat and looks professional. Regularly check your work to avoid uneven edges.
5.2 Avoiding Common Mistakes
Common mistakes include miscounting stitches‚ uneven tension‚ and incorrect hook placement. To avoid these‚ count stitches after each round‚ use stitch markers for clarity‚ and ensure hook insertion is consistent. Regularly check your work to catch errors early‚ as fixing mistakes later can be time-consuming. Keeping a steady tension prevents the square from puckering or sagging.
Understanding Crochet Patterns and Abbreviations
Understanding crochet patterns involves recognizing abbreviations like SC (single crochet) and BLO (back loops only)‚ which are typically explained at the start of the pattern.
6.1 Deciphering Written Patterns
Deciphering written patterns involves interpreting abbreviations like SC (single crochet) and understanding instructions step-by-step. Patterns often include a key at the beginning explaining these terms‚ ensuring clarity. By breaking down each instruction and referring to the key‚ crocheters can confidently follow the pattern to create a Granny Square. Practice helps in mastering these skills effectively.
6.2 Common Abbreviations Used in Granny Square Patterns
Common abbreviations in Granny Square patterns include SC (single crochet)‚ DC (double crochet)‚ and BLO (back loops only). These shorthand terms help streamline instructions‚ making patterns concise and easier to follow. Understanding these abbreviations is essential for accurately crocheting the design and achieving the desired results. Always refer to the pattern’s key for clarification if needed.
Where to Find Granny Square Patterns
Granny Square patterns are readily available online‚ with popular sources like Ravelry‚ Moogly‚ and The Crochet Crowd offering free and detailed PDF downloads‚ often with video tutorials.
7.1 Free Granny Square Patterns Online
Find free Granny Square patterns on websites like Ravelry‚ Moogly‚ and The Crochet Crowd. These platforms offer downloadable PDFs‚ step-by-step guides‚ and video tutorials. Many designs are available‚ from classic single-color squares to vibrant multi-color variations. Simply search for “basic Granny Square crochet pattern PDF” to access these resources and start crocheting your project effortlessly.
7.2 Downloadable PDF Patterns
Downloadable PDF patterns for the Granny Square are widely available online‚ offering clear instructions and visuals. Platforms like Etsy and Crochet Geek provide affordable‚ high-quality PDFs. These patterns often include step-by-step guides‚ stitch charts‚ and photos‚ making them ideal for both beginners and experienced crocheters. They can be easily printed or accessed on digital devices for convenience.
Video Tutorials for Visual Learners
Video tutorials are excellent for visual learners‚ offering step-by-step guides. Many basic Granny Square crochet patterns include linked videos on platforms like YouTube‚ providing live demonstrations to master stitches and techniques.
8.1 Recommended YouTube Channels for Granny Square Tutorials
Channels like Crochet with Kim‚ The Crochet Crowd‚ and Moogly offer excellent Granny Square tutorials. These channels provide clear‚ step-by-step instructions‚ making it easy for beginners to follow. Fiber Flux and Crochet Geek also share detailed videos‚ focusing on basic stitches and techniques. These resources are perfect for visual learners seeking to master the Granny Square pattern.
8.2 Benefits of Following Video Instructions
Video tutorials provide clear‚ visual guidance‚ making it easier to understand complex stitches and techniques. They allow learners to pause‚ rewind‚ and follow along at their own pace‚ enhancing comprehension. Demonstrations of methods like the Join-As-You-Go technique help ensure accuracy and confidence‚ especially for beginners mastering the Granny Square pattern.
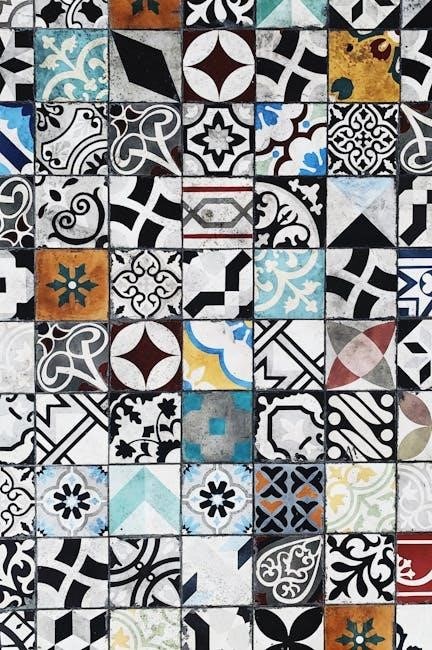
Customizing Your Granny Square
Customize your Granny Square by experimenting with colors‚ yarn weights‚ and personalized embellishments‚ allowing you to add unique touches and reflect your personal style.
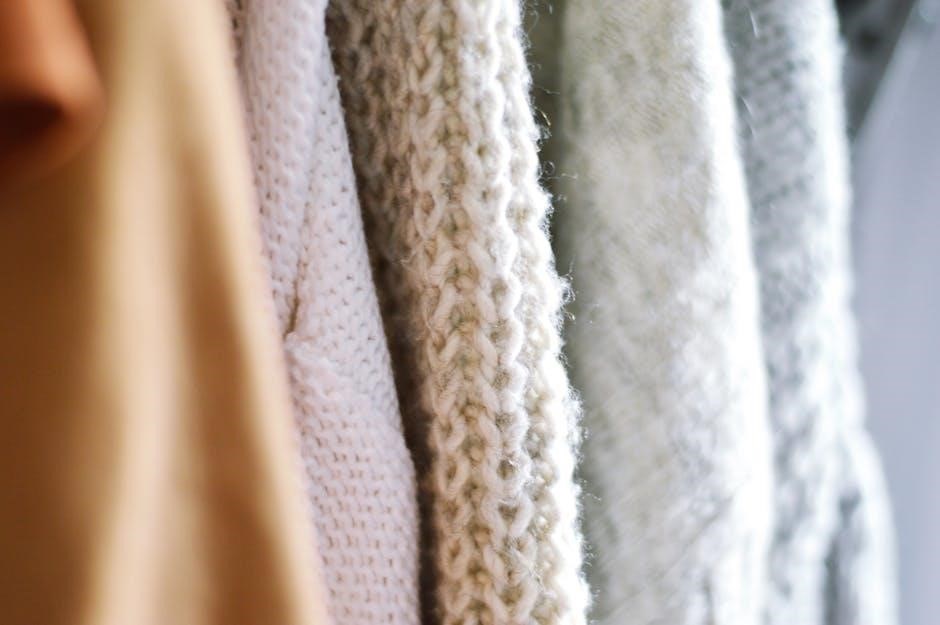
9.1 Choosing Colors and Yarn Weights
Selecting the right colors and yarn weights can elevate your Granny Square. Opt for vibrant hues to make it pop or pastels for a soft look. Medium-weight yarns provide durability‚ while bulky yarns work for quick projects. Acrylic yarns are versatile and easy to care for‚ making them ideal for beginners. Experiment with color combinations to create a personalized design.
9.2 Adding Personalized Touches and Embellishments
Add a personal touch to your Granny Square with buttons‚ appliques‚ or embroidery; Use flowers‚ leaves‚ or other motifs to create unique designs. Incorporate personalized colors or patterns to reflect individual style; Simple stitches like cross-stitch or surface crochet can add intricate details. Experiment with beads or sequins for a festive look‚ making each square truly one-of-a-kind and meaningful.

Projects You Can Make with Granny Squares
The Granny Square’s versatility allows it to be used in creating blankets‚ afghans‚ hats‚ scarves‚ or bags‚ making it a great base for various crochet projects and personalized gifts.
10.1 Creating Blankets and Afghans
Granny Squares are ideal for crafting cozy blankets and afghans‚ perfect for home decor or personalized gifts. By sewing multiple squares together‚ you can create a vibrant‚ textured design. Use a single color for a uniform look or mix colors for a unique‚ multi-tonal effect. This method allows for endless creativity and is a great way to use leftover yarn.
10.2 Making Accessories Like Hats and Scarves
Granny Squares can be transformed into stylish accessories like hats and scarves. Resize squares by adjusting rounds or hook size for a perfect fit. Sew multiple squares together for a scarf or use a single square as a hat base. Add a border for a polished look. This method offers endless customization‚ making it easy to create unique‚ cozy accessories for any season.
Common Mistakes and How to Fix Them
Common errors include uneven edges‚ stitch count mismatches‚ and inconsistent tension. Fix by counting stitches‚ adjusting hook size‚ and ensuring even yarn tension throughout the project.
11.1 Identifying and Correcting Errors in Stitch Count
Stitch count errors are common in granny squares‚ often due to missed or extra stitches. Identify mismatches by counting stitches in each round. Correct by ripping back to the error and reworking the stitches. Use stitch markers to track rounds and ensure accuracy. Regularly counting stitches helps prevent mismatches and ensures a neat‚ symmetrical square.
11.2 Troubleshooting Uneven Edges and Shapes
Uneven edges and shapes can result from inconsistent tension or incorrect stitch counts. Identify issues early by measuring or counting stitches. Use stitch markers to track rounds and ensure even progress. Blocking the square can help reshape it‚ while ripping back and reworking stitches addresses severe mismatches. Consistent tension and accurate counting are key to maintaining a neat‚ uniform granny square.
Congratulations! You’ve mastered the basics of the Granny Square. This timeless pattern offers endless creativity and versatility‚ making it a rewarding project for crocheters of all skill levels. Happy crafting!
12.1 Recap of Key Steps and Tips
Making a Granny Square involves starting with a foundation chain and center ring‚ crocheting rounds of clusters and shells‚ and joining squares using methods like JAYG or sewing. Maintain consistent tension‚ count stitches carefully‚ and watch tutorials for visual guidance. Patterns often include abbreviations like ‘sc’ for single crochet‚ ensuring clarity for all skill levels. Practice makes perfect!
12.2 Encouragement to Keep Practicing and Creating
Congratulations on mastering the Granny Square! This achievement is a testament to your dedication and growing crochet skills. Keep experimenting with colors‚ patterns‚ and projects to expand your creativity. Every stitch brings you closer to new designs and the joy of handmade creations. Remember‚ crochet is a journey of learning and fun—enjoy the process and share your beautiful work with the crochet community!

Additional Resources
Explore books‚ eBooks‚ and online communities for further learning. Ravelry offers diverse patterns‚ while Moogly and The Crochet Crowd provide excellent tutorials and tips for crocheters of all levels.
13.1 Books and eBooks on Granny Square Crochet
Discover comprehensive guides like “The Granny Square Book” by Margaret Hubert and “Granny Square Crochet” by Susan Pinner. These books offer step-by-step instructions for traditional and modern designs. eBooks like “Granny Squares Revisited” by Jessica Noakes provide portable learning. Perfect for all skill levels‚ these resources ensure mastery of the Granny Square technique with clear patterns and visuals.
13.2 Online Communities and Forums for Crochet Enthusiasts
Join vibrant communities like Ravelry‚ Crochetville‚ and Facebook groups such as “Crocheting and Knitting.” These platforms offer pattern sharing‚ tips‚ and support. Engage with fellow crocheters‚ ask questions‚ and gain inspiration for your Granny Square projects. Perfect for learning and staying connected with the crochet world.
Final Thoughts
Crocheting a Granny Square brings immense satisfaction‚ offering a timeless‚ versatile project. Perfect for beginners and experts alike‚ it remains a cornerstone of modern crochet creativity and joy.
14.1 The Satisfaction of Completing a Granny Square
Completing a Granny Square brings immense pride and accomplishment. Each stitch represents creativity and perseverance‚ offering a sense of fulfillment. It’s a celebration of handmade craftsmanship‚ where every square becomes a cherished keepsake‚ symbolizing dedication and the joy of creating something truly personal and meaningful.
14.2 The Versatility of the Granny Square in Modern Crochet
The Granny Square’s enduring appeal lies in its adaptability to modern crochet trends. It can be styled into blankets‚ clothing‚ or accessories‚ making it a versatile choice for any project. Its timeless design allows crocheters to experiment with colors and patterns‚ ensuring it remains a staple in both traditional and contemporary crochet projects‚ appealing to all skill levels and creative visions.