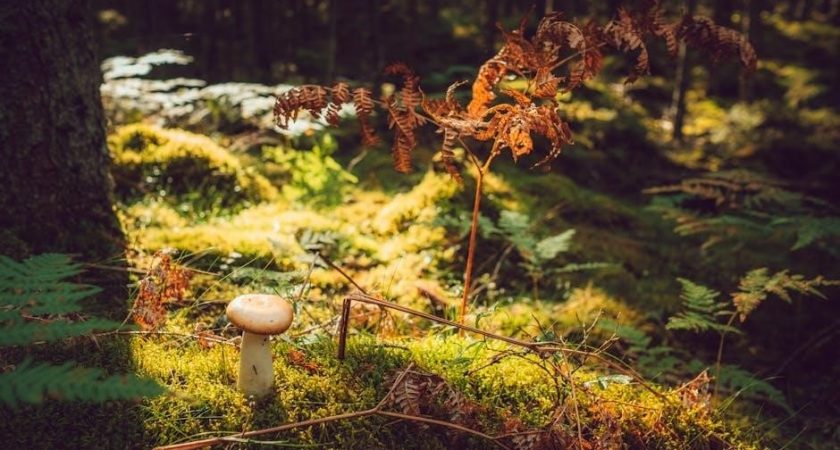
An all-in-one mushroom grow bag is a convenient, self-contained system designed for growing mushrooms indoors․ It streamlines the process, making it accessible for both beginners and experienced cultivators․ These bags typically include a sterilized substrate and a built-in filter patch for gas exchange, optimizing conditions for mycelium growth․ They support various mushroom species and simplify the steps from inoculation to harvesting, ensuring a successful and hassle-free experience;
Overview of the All-in-One Mushroom Grow Bag
An all-in-one mushroom grow bag is a self-contained cultivation system designed for ease of use․ These bags typically include a sterilized substrate, such as grains, and a built-in filter patch to maintain proper gas exchange․ They are specifically crafted to support the growth of various mushroom species, including oyster, lion’s mane, and manure-loving fungi․ The bag’s design allows for straightforward inoculation, colonization, and fruiting phases, with minimal setup required․ Many models feature pre-sealed ports for injecting liquid culture or spores and include grow holes for initiating fruiting․ This versatile system is ideal for both beginners and experienced growers, offering a streamlined approach to mushroom cultivation․
Advantages of Using an All-in-One Grow Bag
The all-in-one mushroom grow bag offers numerous advantages, making it an ideal choice for both novice and experienced cultivators․ Its pre-sterilized substrate eliminates the need for complex sterilization processes, reducing contamination risks․ The built-in filter patch ensures proper gas exchange, promoting healthy mycelium growth without external equipment․ Simplified design streamlines the cultivation process, from inoculation to harvesting, with minimal setup required․ Versatility allows growers to support various mushroom species, including oyster and lion’s mane, accommodating different growing preferences․ Additionally, the bags often feature pre-sealed injection ports, minimizing contamination during inoculation․ Overall, these bags provide a practical, efficient, and scalable solution for mushroom enthusiasts, catering to a wide range of needs and skill levels effectively․

Preparation and Setup
Preparation involves ensuring a sterile environment, preparing the grow bag, and organizing materials to initiate the mushroom cultivation process effectively and without contamination․
Ensuring a Sterile Environment
Creating a sterile environment is crucial for successful mushroom cultivation․ Start by sanitizing the workspace with a 70% alcohol solution or bleach․ Wear gloves and a face mask to minimize contamination․ Ensure the area is free from drafts and dust․ Sterilize all tools, such as syringes and needles, with a flame or alcohol․ The all-in-one grow bag typically comes pre-sterilized, but double-checking its integrity is essential․ Store the bag in a clean, dry place before use․ Maintaining sterility throughout the process prevents mold and bacteria growth, ensuring healthy mycelium colonization and mushroom development․
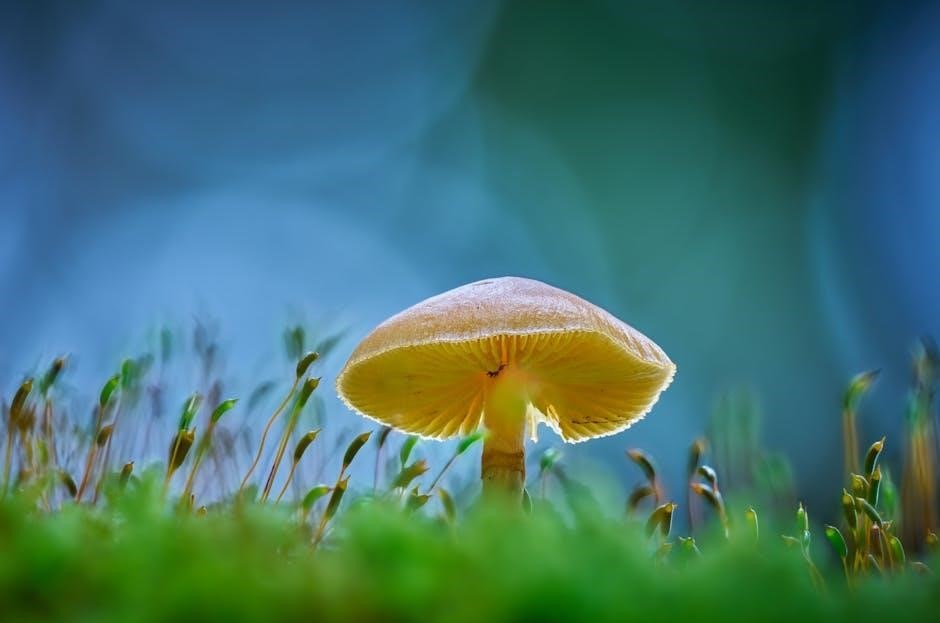
Choosing the Right Mushroom Species
Selecting the appropriate mushroom species is vital for a successful grow․ Oyster, shiitake, and lion’s mane mushrooms thrive in all-in-one grow bags due to their adaptability․ Consider the specific growth habits and substrate preferences of the species․ Oyster mushrooms are ideal for beginners, as they are hardy and grow quickly․ Lion’s mane, however, requires slightly more controlled humidity and light․ Ensure the chosen species aligns with the environment and care capabilities․ Research the optimal conditions for your desired mushroom type to maximize yields․ The all-in-one bag’s design accommodates various species, making it a versatile option for cultivators of all skill levels․ Proper species selection enhances the overall growing experience and results․
Inoculation Process
The inoculation process involves injecting liquid mushroom culture into the sterile grow bag using a syringe and needle, ensuring a clean environment to promote healthy mycelium growth․
Injecting Liquid Culture or Spores
Injecting liquid culture or spores is the first step in the inoculation process․ Attach a sterile needle to your syringe and inject 2-4cc of the genetic material into the bag․ Move the needle around to distribute it evenly․ Ensure the environment is clean to prevent contamination․ Once inoculated, seal the port and gently shake the bag to spread the culture․ This step is crucial for initiating mycelium growth․ Always use liquid culture for faster colonization, but spores are also effective, though they may take longer․ Proper technique ensures a successful start to your mushroom cultivation journey․
Shaking the Bag for Even Colonization
After inoculation, gently shake the bag to distribute the liquid culture or spores evenly across the substrate․ This step ensures consistent colonization and prevents uneven growth․ Shake the bag thoroughly but carefully to avoid damaging the substrate or introducing air pockets․ Once done, seal the bag properly and place it in a dark, dry spot to allow the mycelium to grow undisturbed․ Regular, gentle agitation during the early stages promotes healthy mycelium development, leading to a robust and uniform colonization process․ This simple yet crucial step sets the foundation for a successful mushroom cultivation cycle․
Colonization Phase
The colonization phase occurs after inoculation, where mycelium grows throughout the substrate․ Maintain a consistent, dark environment with proper humidity and temperature for 1-4 weeks․ This period is crucial for the mycelium to establish itself fully before entering the fruiting stage․
Creating Ideal Conditions for Mycelium Growth
To promote healthy mycelium growth, maintain a consistent temperature between 70-80°F (21-27°C) and ensure high humidity․ Keep the bag in a dark or low-light environment to prevent algae growth․ Avoid direct sunlight, as it can inhibit colonization․ Ensure the bag remains sealed except for the filter patch, which allows gas exchange; Monitor for contaminants and maintain cleanliness․ Daily inspection is crucial to ensure optimal conditions․ Proper environmental control during this phase ensures robust mycelium development, setting the stage for successful mushroom growth․
Duration and Signs of Successful Colonization
Colonization typically takes 1-4 weeks, depending on the mushroom species and environmental conditions․ Successful colonization is evident when the substrate is fully covered in visible mycelium, appearing as a white, cotton-like growth․ The substrate may also emit a mild, earthy odor․ Ensure the bag remains sealed to maintain humidity and prevent contamination․ Check daily for any signs of mold or pests, which can indicate improper sterilization or handling․ Once colonization is complete, the bag is ready to move to the fruiting phase․ Proper monitoring during this stage is essential for a healthy and productive grow․
Fruiting Phase
The fruiting phase begins after successful colonization․ Place the bag in ambient light, ensure proper humidity, and ventilate daily․ Mushrooms typically grow within 1-2 weeks under optimal conditions․
Providing Proper Light and Humidity
During the fruiting phase, mushrooms require specific light and humidity levels․ Place the grow bag in a location with indirect, ambient light, such as near a window or under a fluorescent bulb, for 8-14 hours daily․ Direct sunlight should be avoided as it can overheat the substrate․ Maintain humidity by misting the inside walls of the bag once daily, ensuring water droplets evaporate between mistings․ This balanced environment encourages healthy mushroom growth and prevents contamination․ Proper light and humidity management are crucial for maximizing yield and promoting robust fruiting․
When to Expect Mushroom Growth
Mushroom growth typically begins within 1-3 weeks after colonization, depending on the species․ Oyster mushrooms may appear sooner, while others like lion’s mane take longer․ Ensure consistent light and humidity for optimal fruiting․ Monitor for small pins or buds, indicating imminent growth․ Harvest promptly once mushrooms reach desired size to encourage additional flushes and prevent over-maturity․
Harvesting Mushrooms
Harvest mushrooms by gently twisting or cutting at the base․ Clean the substrate and allow the mycelium to rest before the next flush for optimal results․
Best Practices for Picking Mushrooms
For optimal results, wait until mushrooms are fully grown and mature before harvesting․ Gently twist or cut them at the base to avoid damaging the mycelium․ Clean the area with a damp cloth to remove debris and prevent contamination․ Harvesting at the right time ensures larger, healthier mushrooms․ For species like oyster or lion’s mane, cutting with a sterile knife is recommended․ Store harvested mushrooms in a cool, dry place or refrigerate immediately to preserve freshness․ Avoid over-handling to maintain quality and reduce spoilage․ Regular harvesting encourages the mycelium to produce additional flushes, maximizing your yield․
Post-Harvest Care and Storage
After harvesting, clean the grow bag thoroughly to remove any debris or residual moisture․ Allow the bag to dry completely to prevent contamination․ Store the bag in a cool, dry place away from direct sunlight․ For future use, ensure the substrate remains sterile and dry․ Harvested mushrooms should be stored in an airtight container in the refrigerator to maintain freshness․ Proper handling and storage prevent spoilage and contamination, ensuring the mushrooms remain edible and the grow bag stays viable for potential re-use․ Regularly inspect stored mushrooms for signs of decay and remove any affected ones to preserve the rest․